The Complete Ergonomic Desk Setup Checklist
I still remember the morning I woke up with my right arm completely numb. Not “pins and needles” numb—dead weight, like someone had swapped my arm for a slab of deli meat while I slept. The culprit wasn’t a disease or an injury. It was my desk. My monitor sat three inches too low, my mouse was a country mile away, and my chair had been set to “vaguely chair-shaped object” for two straight years.
Here’s what I learned the hard way: small misalignments don’t feel dangerous. An inch here, a degree there—your body compensates beautifully for weeks or even months. But then one day, you reach for a coffee mug and something goes twang. The bill comes due.
The good news? Fixing your setup takes less than 15 minutes. The bad news? Most people never do it because they don’t have a clear checklist. That ends now. Below is the exact system I’ve used to help hundreds of desk workers (including myself) go from chronic ache to “wait, my back feels fine today.”
Let’s get to work.
Section 1: Chair Adjustments – Your Foundation
Before you touch anything else, your chair must fit your body. Not your body fitting the chair. This is non-negotiable. Work through these five checks in order:
- Seat Height
– Sit all the way back in the chair
– Place your feet flat on the floor (or a footrest—more on that later)
– Your hips should be slightly higher than your knees (about a 100-110 degree angle at the hip)
– Test: Your thighs should be roughly parallel to the floor or angled slightly downward toward your knees
– Fix: Raise the chair until your knees sit lower than your hips. If your feet float, add a footrest.
- Seat Depth
– With your back pressed firmly against the backrest, check the space between the front edge of the seat and the back of your calf
– Target: 2-3 fingers of space (about 2-4 inches)
– Too deep? Add a lumbar cushion to effectively shorten the seat. Too shallow? You need a chair with an adjustable seat pan.
- Lumbar Support
– Locate the inward curve of your lower spine (right around your belt line)
– Adjust the lumbar knob or sliding pad until it makes light contact with that curve
– Critical: You should not feel “pressed” or “poked.” The sensation is “ah, that feels neutral.”
– No adjustable lumbar? Roll a small towel, tape it into a cylinder, and place it horizontally at your belt line between you and the backrest.
- Armrests
– Relax your shoulders completely (let them drop away from your ears)
– Bend your elbows to 90 degrees with hands hovering over your keyboard
– Raise or lower armrests until they just “kiss” your forearms near the elbows
– Width check: Your forearms should rest without your elbows flaring out or squeezing in
– Pro tip: If armrests interfere with your desk slide-under, lower them all the way or remove them entirely. No armrest is better than bad armrests.
- Recline Tension and Tilt Lock
– Find the tension knob (usually under the front edge of the seat)
– Lean back with firm, steady pressure—you want 5-10 degrees of give
– You should NOT flop backward or feel locked in concrete
– Test: Type normally. If you feel your core muscles gripping to stay upright, loosen the tension. If you feel like you’re falling, tighten it.
– Never lock your chair perfectly upright for more than 30 minutes. Your spine needs micro-movement.
Section 2: Desk Height – Sitting and Standing
Your desk is the anchor for everything above it. If this is wrong, your wrists and neck pay the price.
For Sitting:
– Sit in your properly adjusted chair with shoulders relaxed
– Place your hands on the keyboard as if typing
– Your elbows should be at 90-100 degrees with forearms parallel to the floor (or tilted slightly down toward the keyboard)
– Desk surface height: Ideally 28-30 inches for most people 5’8” to 5’11”
– Test: Slide your hand under the desk edge. You should be able to do this without lifting your shoulders.
– If your desk is too high: Raise your chair (and add a footrest) or use a keyboard tray
– If your desk is too low: Add desk risers (furniture lifts) or raise a standing desk
For Standing (if you have a sit-stand desk):
– Stand with weight evenly distributed on both feet
– Elbows at 90 degrees, forearms parallel to floor
– Desk height should match your elbow height (measure from floor to bent elbow)
– Typical range: 40-44 inches for most adults
– Test: Your wrists should not bend up or down when typing
– Rule of thumb: Alternate positions every 30-45 minutes. Standing all day is just as bad as sitting all day.
Section 3: Monitor Position – Your Eye Health Lifeline
I cannot overstate this: your monitor position is the single biggest factor in neck pain. I’ve seen people with perfect chairs and desks who still hurt because they’ve been looking down at a laptop for six years.
Height:
– Sit in your adjusted chair with normal posture
– Close your eyes, then open them. Your gaze should land naturally on the address bar of your browser.
– The top of your monitor screen should be at or just below eye level
– For most people, this means the top third of the screen is at eye height
– Fix: Use monitor arms, risers, or thick books. Laptop users: Get a separate monitor or a laptop stand plus external keyboard/mouse.
Distance:
– Extend your arm toward the screen. Your fingertips should just touch the screen.
– That’s roughly 20-24 inches for most people
– Adjust: Can’t read text? Increase font size or scaling—don’t lean forward
– Test: You should be able to see the entire screen with only small eye movements, not head turning
Angle:
– The screen should be tilted back slightly (10-20 degrees from vertical)
– No glare from overhead lights or windows
– Dual monitors: Place your primary monitor directly in front. Secondary monitor to the side at the same height and distance. Better yet, use one monitor and a laptop as the secondary.
– If you wear bifocals or progressives: Lower your monitor about 1-2 inches so you don’t tilt your head back to read
Section 4: Keyboard and Mouse Placement – Wrist Savers
Your hands are the workhorses of desk life. Treat them like it.
Keyboard:
– Position the keyboard directly in front of you (aligned with your sternum)
– The B key should be centered on your body
– Elbows stay at 90 degrees, wrists straight (not bent up, down, or sideways)
– Keyboard slope: Flat or slightly negative tilt (front edge lower than back). Most built-in legs make things worse—try lowering them.
– Test: Place a ruler across your wrists while typing. The ruler should touch the back of your hand and forearm evenly.
– Ten-key users: Get a separate numeric pad so you can keep your mouse closer
Mouse:
– Place the mouse within 6 inches of the right edge of your keyboard (left edge for left-handers)
– Your upper arm stays vertical; only your forearm moves
– Wrist remains straight—no bending sideways to reach
– Consider a vertical mouse if you have wrist pain or a trackball for very tight spaces
– Test: Your shoulder should not lift or reach forward to touch the mouse. If it does, move the mouse closer.
Wrist Rests:
– Use a gel or foam rest ONLY during pauses in typing, not while actively typing
– Your wrists should float while typing; the rest is for breaks
– Never rest your wrists on a hard desk edge—this compresses carpal tunnel nerves
Section 5: Floor and Foot Positioning – The Forgotten Foundation
Your feet ground your entire posture. Ignore them at your peril.
Feet:
– Both feet flat on the floor or on a footrest
– Knees at or slightly lower than hips
– No ankle crossing, no tucking one foot under your thigh, no wrapping your legs around chair legs
– Test: Can you stand up from your chair without pushing off with your hands? If no, your feet are probably too far back.
Footrest (if needed):
– You need a footrest if your knees are higher than your hips after setting proper chair height
– A $20 adjustable footrest is fine. A stack of old hardcover books works in a pinch.
– Angle: Your ankles should be at about 90 degrees with feet fully supported
– Non-slip surface strongly recommended (or two-sided tape on books)
Under-Desk Clearance:
– You should have at least 6 inches of vertical space between your thighs and the underside of your desk
– Check for sharp edges or support bars that dig into your legs
– If your chair armrests hit the desk before you get close enough to type, lower the armrests or remove them
The 5-Minute Daily Reset
Here’s a secret: perfect setup on Monday means nothing if you slouch by Tuesday. I do this five-point check before my first coffee every morning:
- Butt to the backrest (most people slide forward within an hour)
- Feet flat(did you kick off your shoes and start crossing ankles?)
- Monitor at eye level (did a cat sit on your laptop riser?)
- Wrists straight (are you hovering or resting on the desk?)
- Shoulders dropped(check right now—I bet they’re up near your ears)
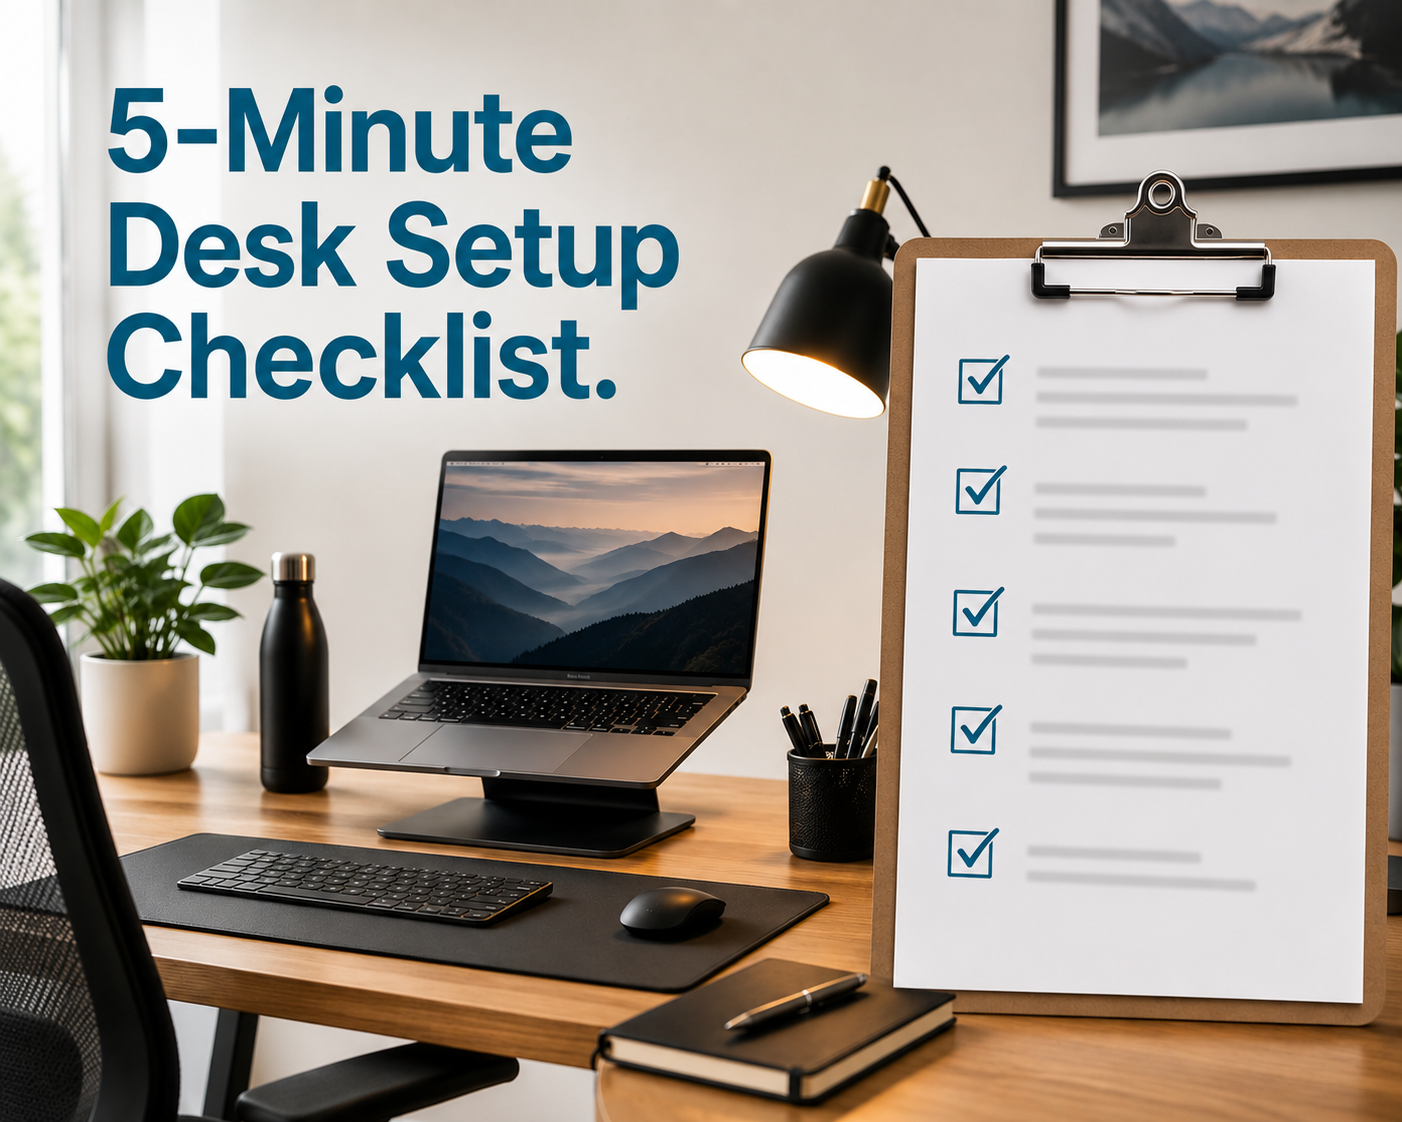
I’ve condensed everything above into a single-page PDF checklist you can keep taped to your monitor. It has all 22 adjustment points plus a “daily reset” column with checkboxes for Monday through Friday.
You can get it for free by joining my email list. No spam—I send one email per week with ergonomic deep dives, desk stretches, and gear reviews. Just head to [yourwebsite.com/ergo-checklist] (or look for the pop-up on this page). Enter your email, and the PDF lands in your inbox in about 90 seconds.
The One Non-Negotiable Rule for Every Desk Worker
Here it is—the single rule that matters more than all the checklists combined:
Never stay in any position for more than 45 minutes.
Not a perfect position. Not a standing position. Not a reclining position. Every posture becomes a bad posture if you freeze in it. Your spine is designed for movement—it pumps fluid into your discs when you shift, resetting pressure and delivering nutrients.
Set a timer. Stand up. Walk to the kitchen. Touch your toes. Roll your shoulders. Then sit back down and run through the five-point reset. That 60-second break every 45 minutes will prevent more pain than a $5,000 chair ever could.
Ergonomics isn’t about finding the one magic sitting position. It’s about building the habit of tiny, constant adjustments. Your checklist is your map. That 45-minute rule is your compass. Use both, and your 50-year-old self will thank your 30-year-old self.
Now go adjust your monitor height. I’ll wait.